Welcome to the newest section of the website featuring my resin kit models. I am brand new at this hobby and have been teaching myself all of the tricks in this masterful art. Youtube is a blessing I must say.
Over the years I have found artists working on beautiful resin models and I searched around to try and find a kit that I could buy to try out. Unfortunately at the time I could not find a convenient way to buy these kits. Most had to be imported from Japan at an extremely high price (these were the original resin kits, not the recasts). I did not come across recasts very often and when I did they were created poorly and would break very easily.
It wasn’t until I found “Leona’s Workshop” that I gave the search for affordable resin kits another try. For the past couple of months I have been working on a 1/7 th scale Sailor Saturn kit and I am almost prepared to paint it with my new Iwata-Medea High Performance Plus C Dual Action Airbrush! Very excited.
I also have a Princess Tutu 1/7 th kit and a Seto Kaiba 1/7 th kit that are waiting to be worked on after the completion of Sailor Saturn.
I will be posting pictures of my progress regularly along with the methods I have been using to construct the figure.
Sailor Saturn
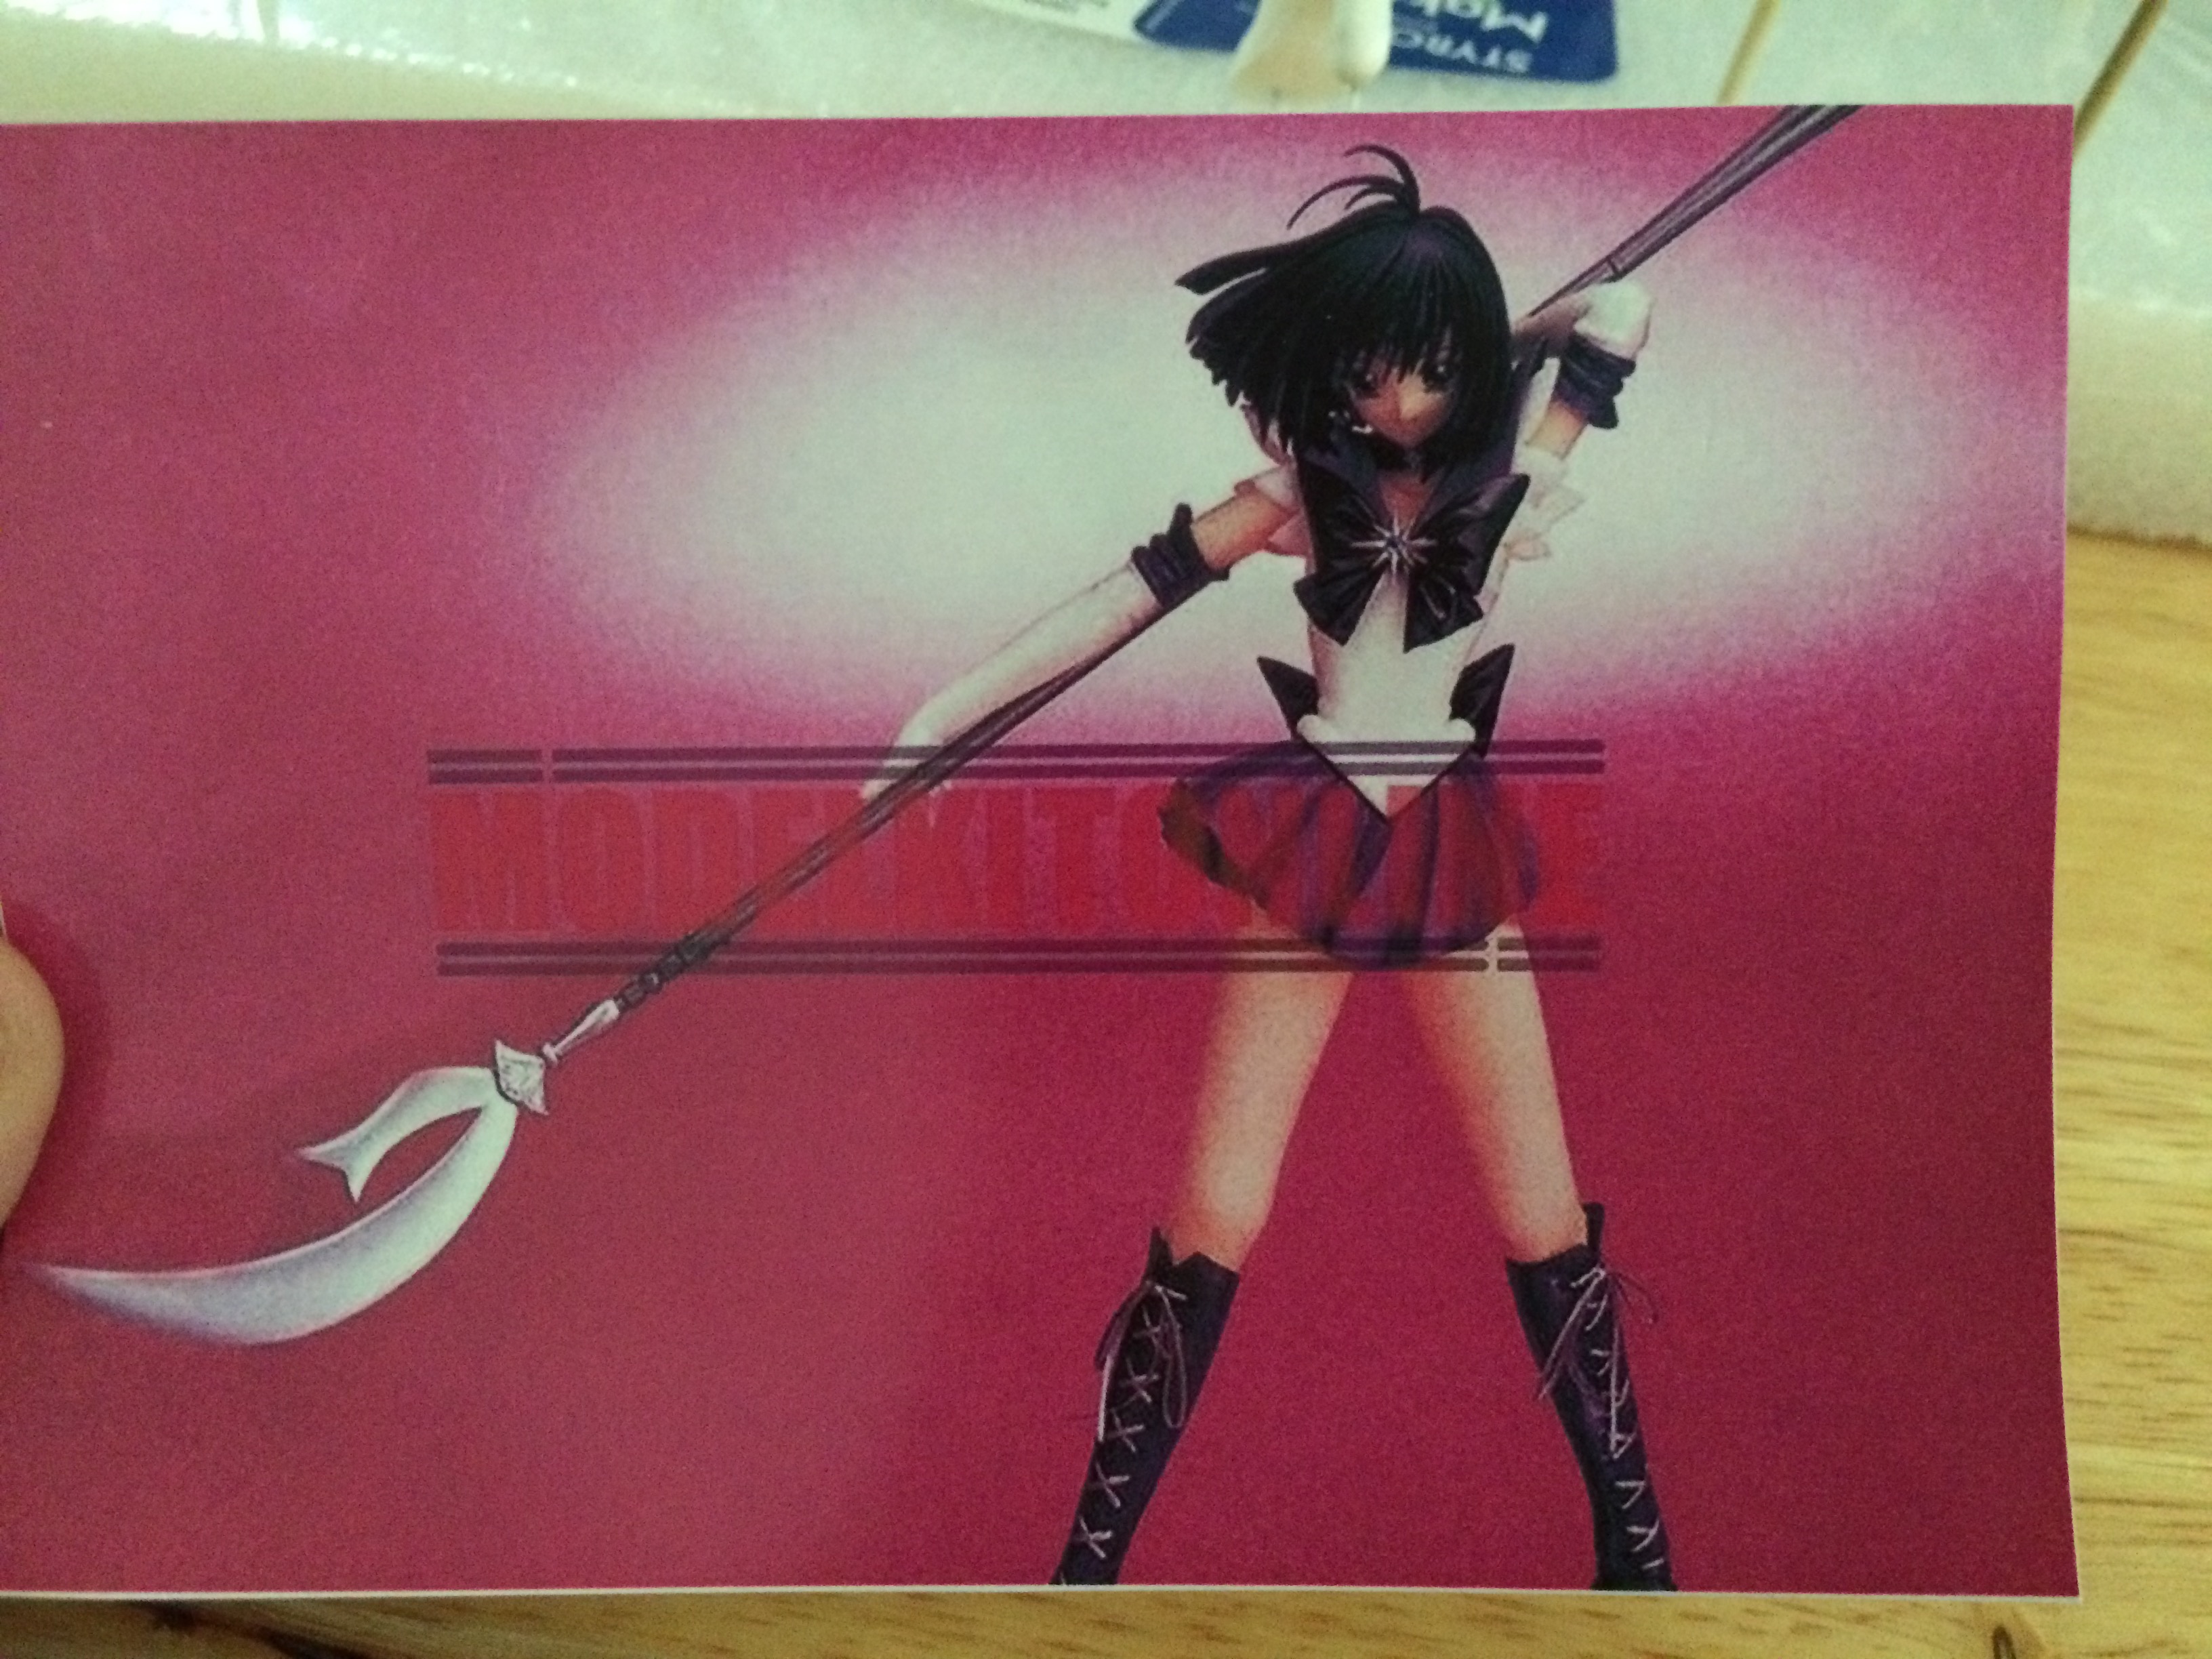
I received this kit from Model Kit Online (you can find them on eBay) in the beginning of 2015. All parts came and no major pieces were broken or missing. A few defects did come with the kit. The biggest was the accessories, such as the earrings and brooch. The problem with recasts is that tiny pieces like these do not get made well when they are recast and they tend to break easily. The casting was so bad that I could find no way to rescue or fix the pieces. I do not think this is a huge loss. I can construct something out of epoxy putty later on.
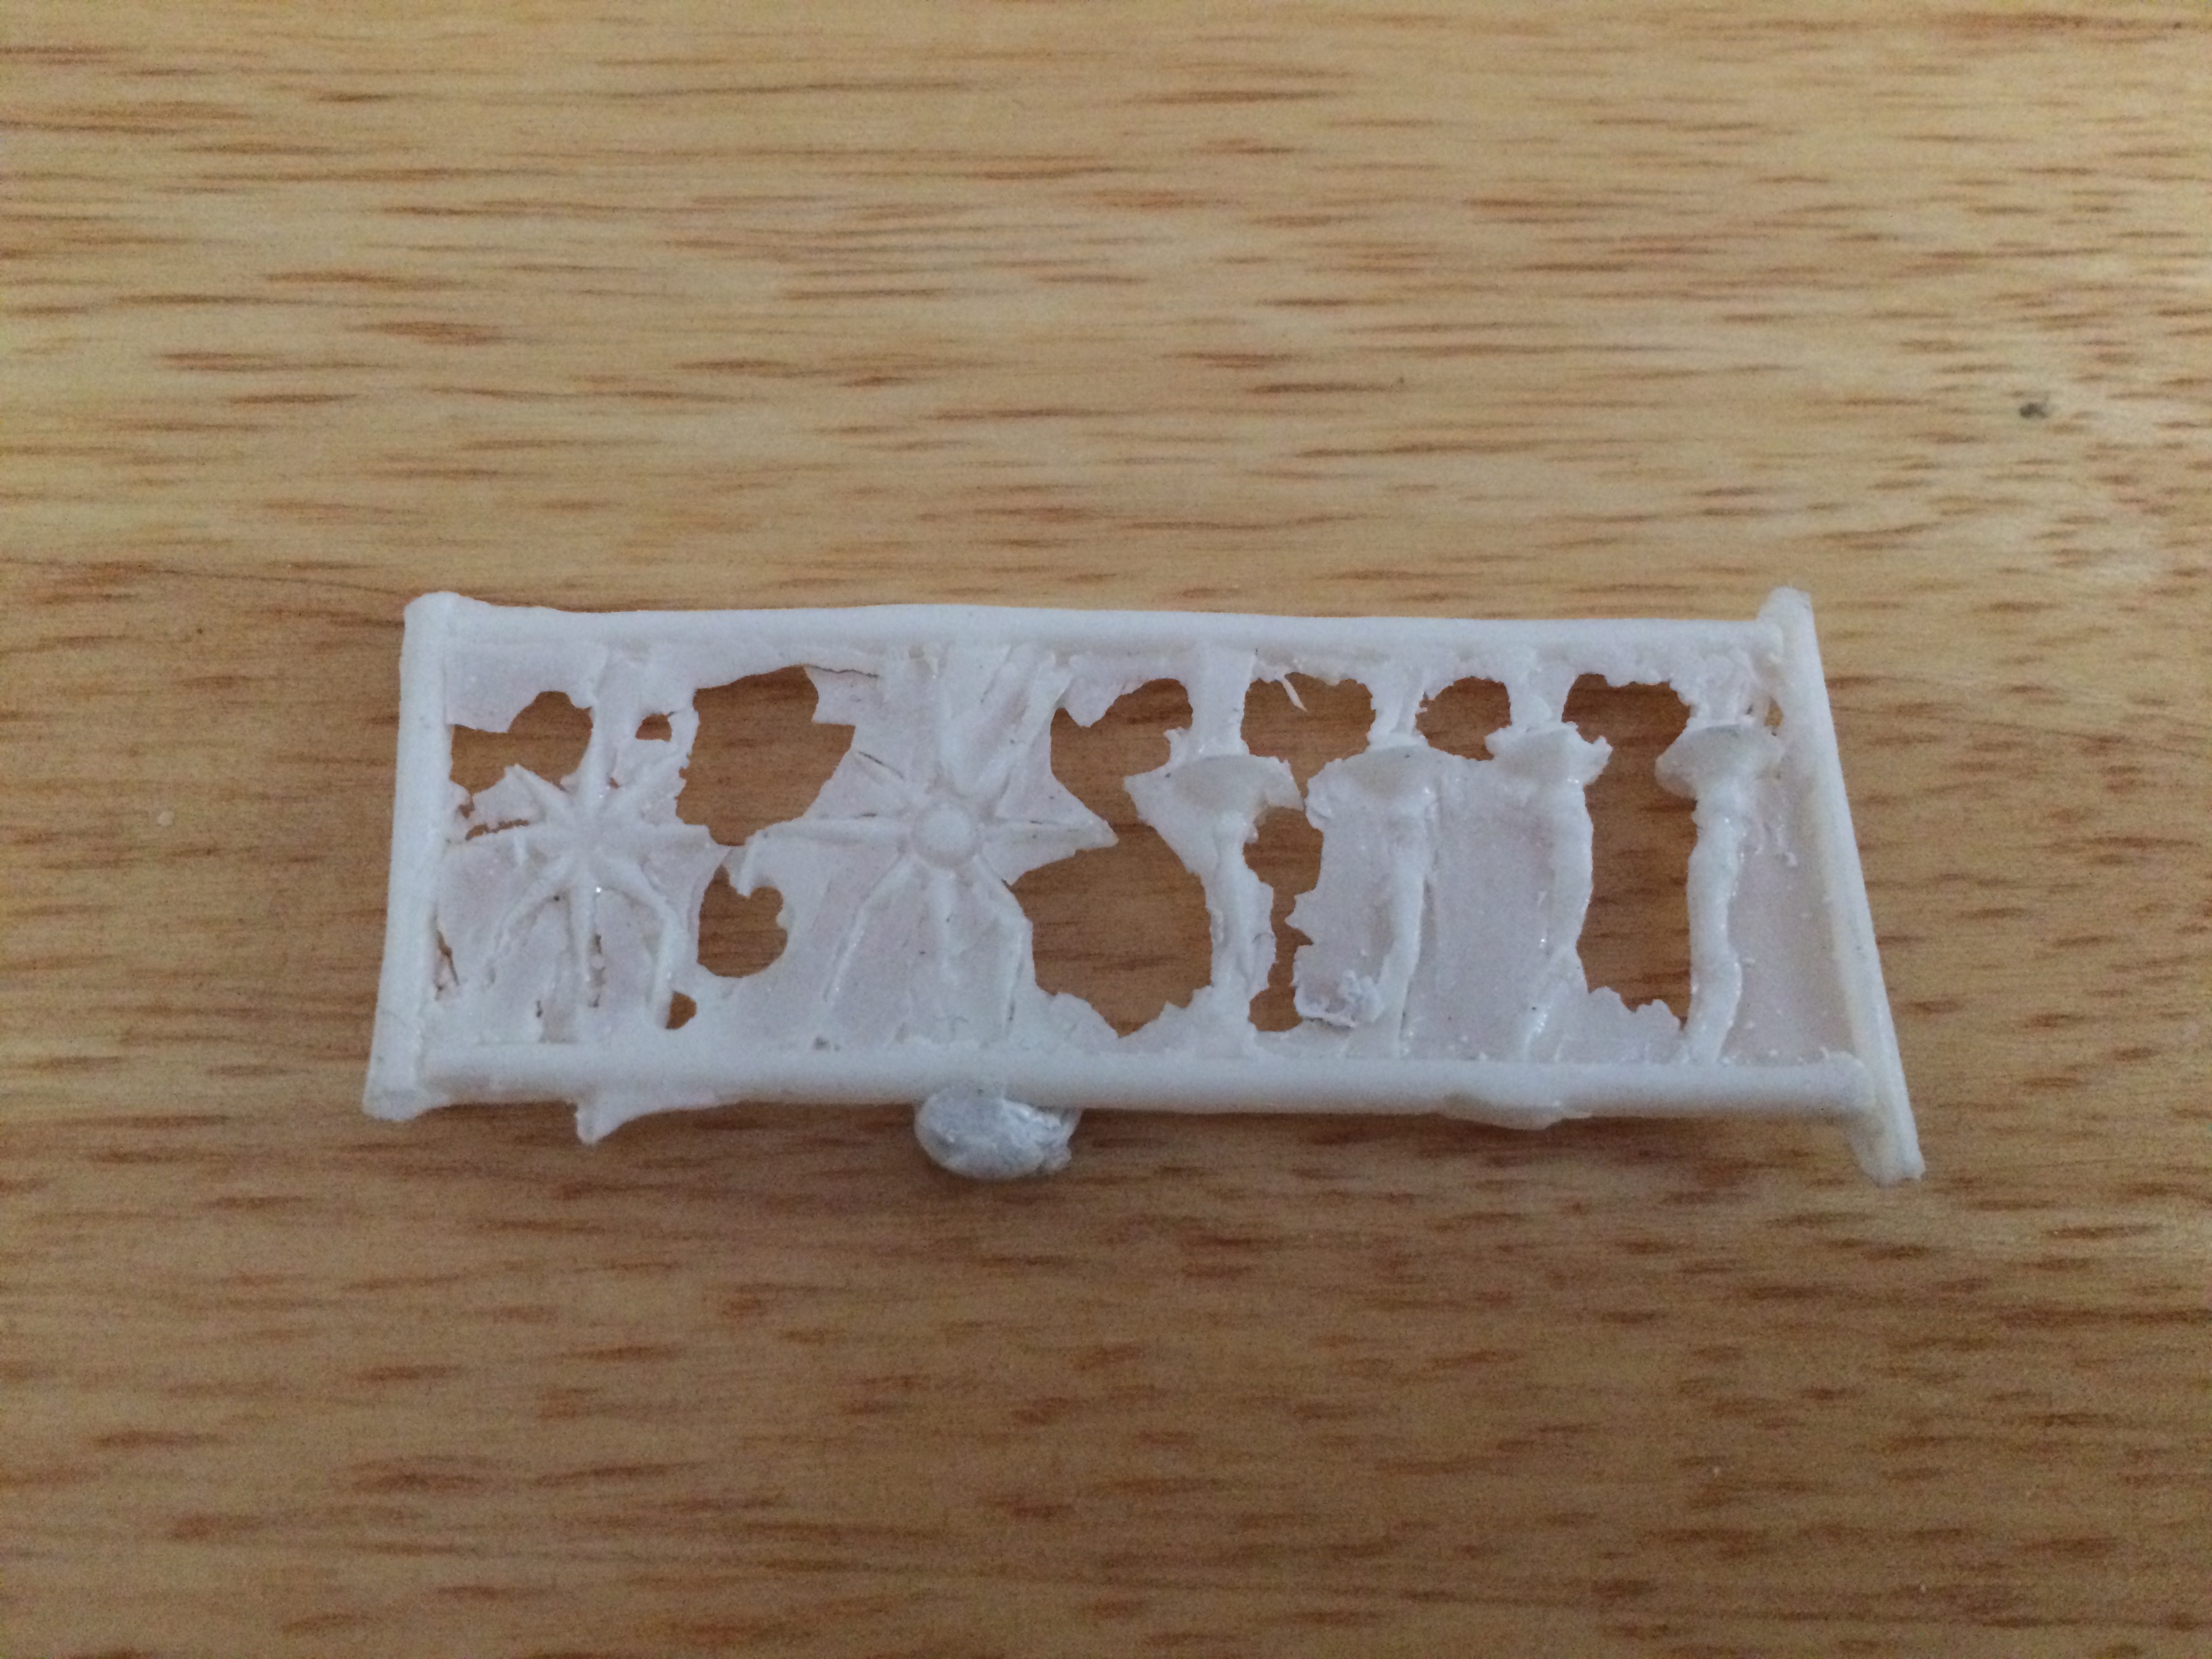 <- I seriously thought I could save some of these pieces. Big joke.
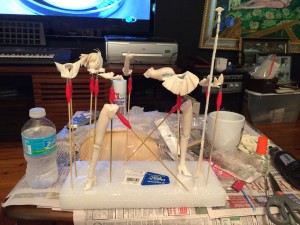
I bought a simple flat round wooden display base for Saturn so that I could start drilling her to the base as I continue to construct her. This is where I found my next problem:
The heels of her boots were two different lengths. Not sure if this was intensional or not, but I could not keep her stable on the platform with one shoe missing half a heel. Using Tamiya Epoxy Putty I sculpted the remainder of the heel and let dry for 24 hours before inserting the pins into her shoes and the platform:
a much better finish if I do say so myself.
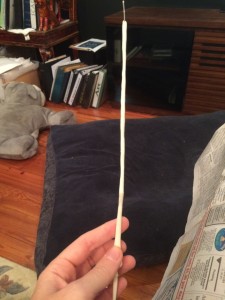
The last major problem I found out had to do with the Glaive Staff that Sailor Saturn wields. The staff came as a thin metal rod… wtf!? I could not believe it. I laughed for a while:
 My reaction says it all…
There was no way for me to get drill holes into the top and bottom part of the staff to get the metal piece in due to the fact that they do not make dremel bits smaller than a 1/32″ (trust me, I looked). Therefore, I used the Tamiya Epoxy Putty to cover the silver rod and thicken and lengthen it to my liking before I continued to construct the rest of the Glaive.
 You can see in the top part of the picture a little bit of that rod they provided me with. Laughable isn’t it?
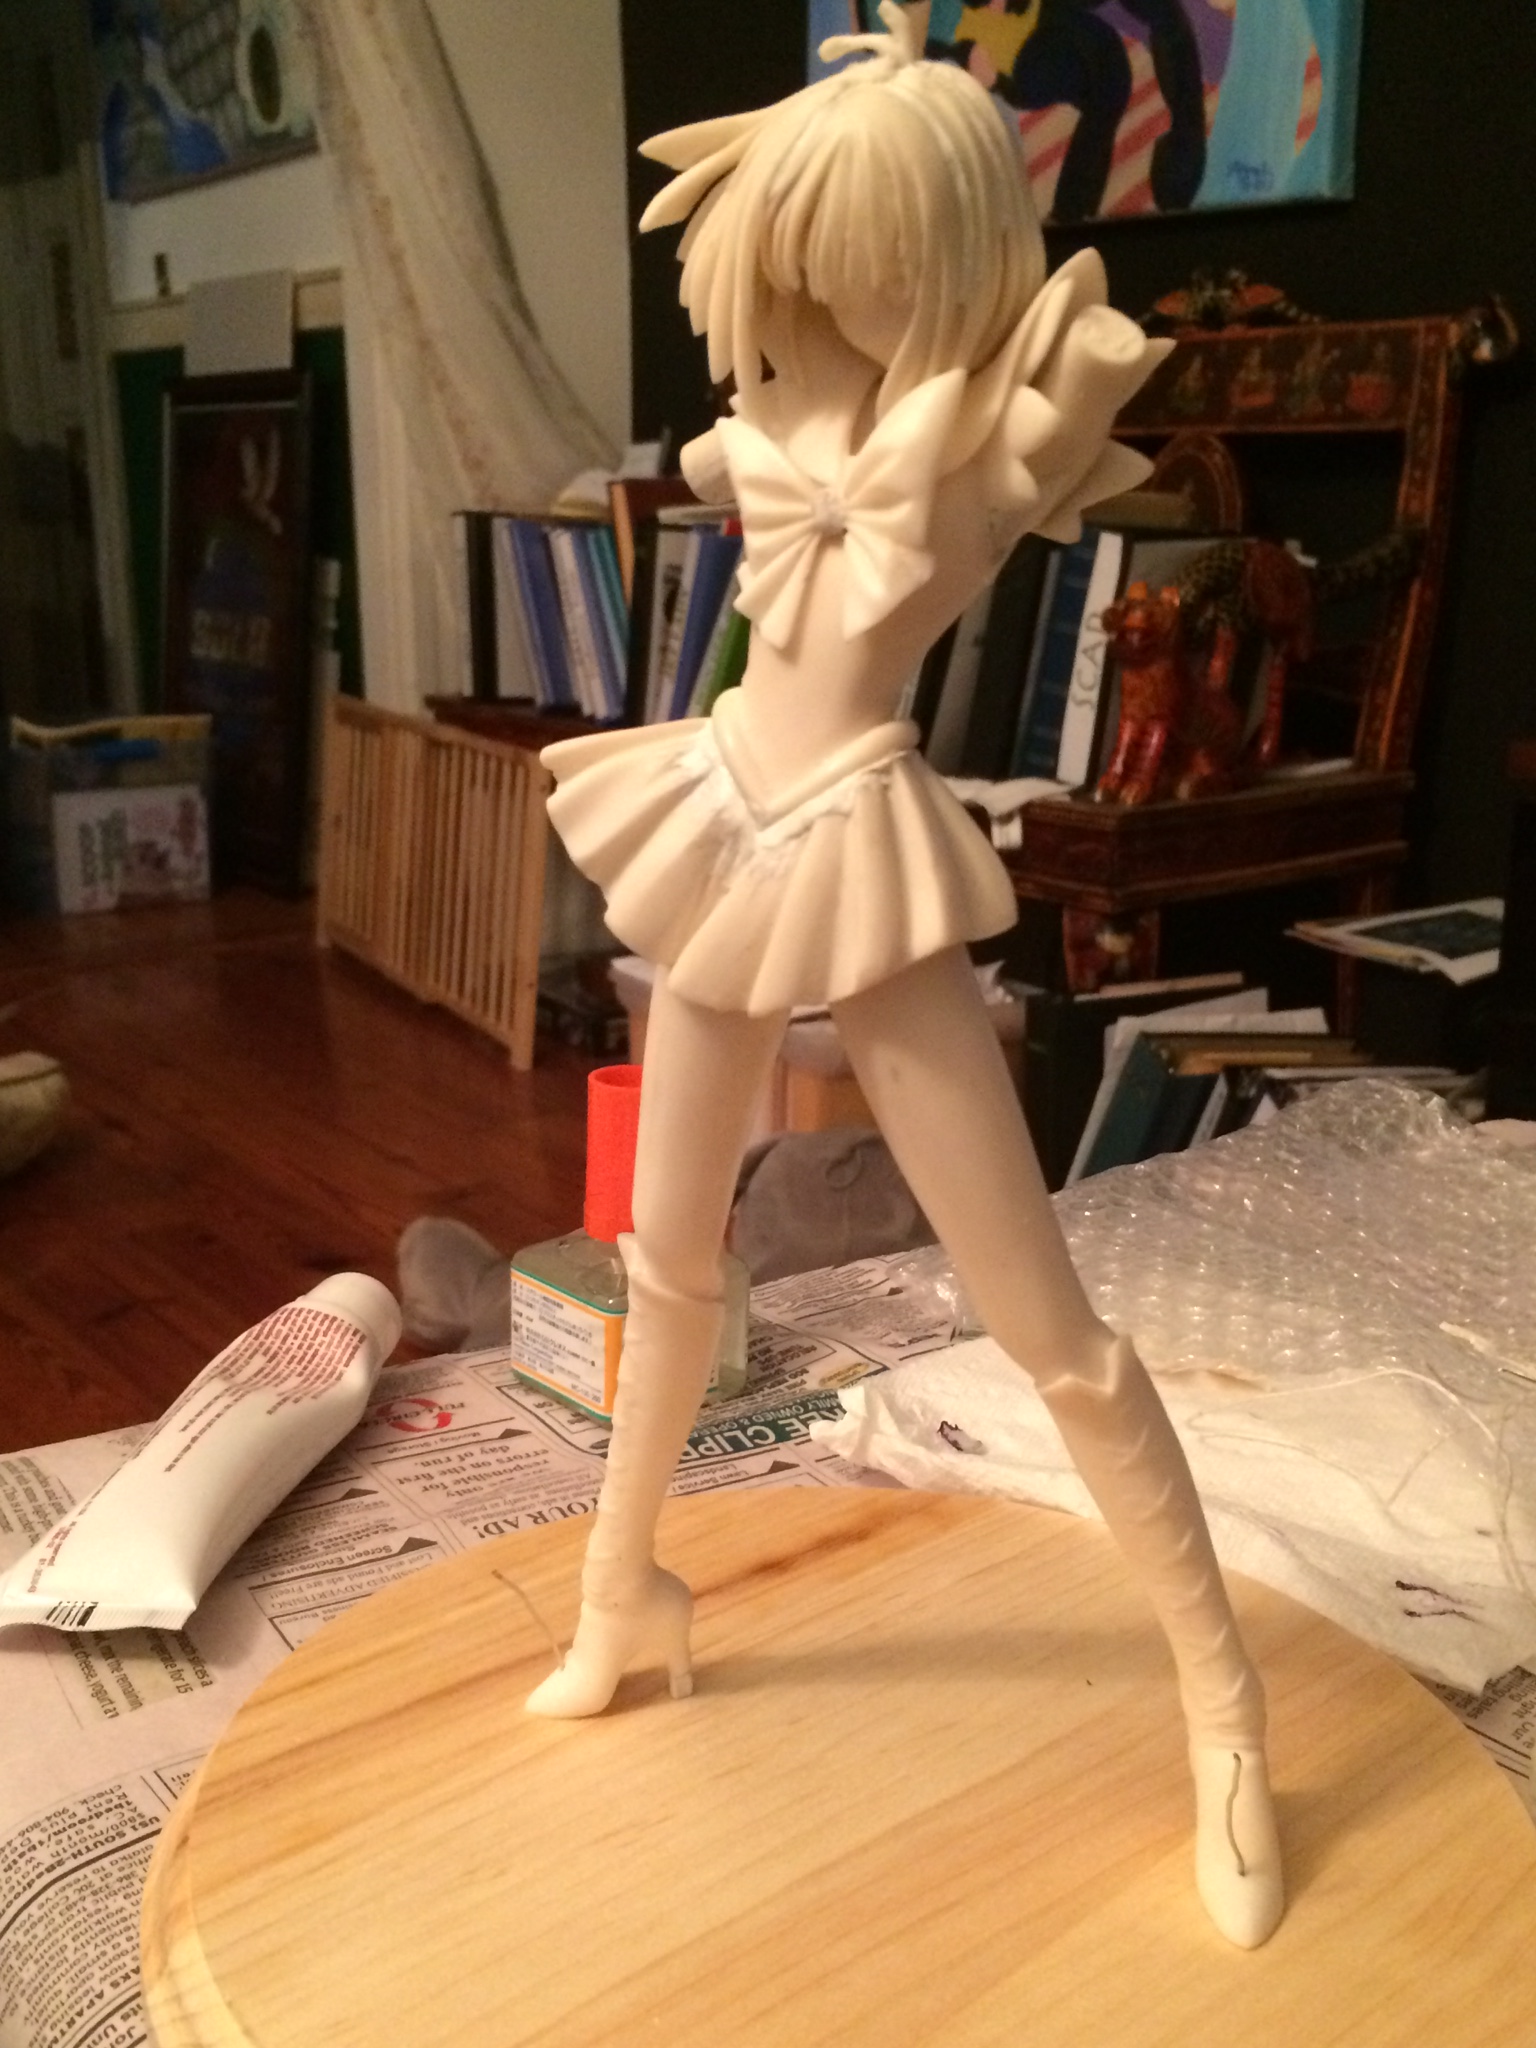
Upon fixing all of the damaged merchandise I began to construct and put together dear Hotaru. Areas around the skirt had some gaps which needed to be filled with Tamiya Epoxy Putty. I also had to pin certain areas together to keep the figure stable. Torso and legs and torso and head, for example. After pinning and working with epoxy putty i set the pieces to harden for another 24 hours. I believe Shark Week 2015 is on in the background 😛
The next day I reconstructed Saturn on her wooden post to see how the putty looked hardened and if the pins were sticking correctly. So far so good.
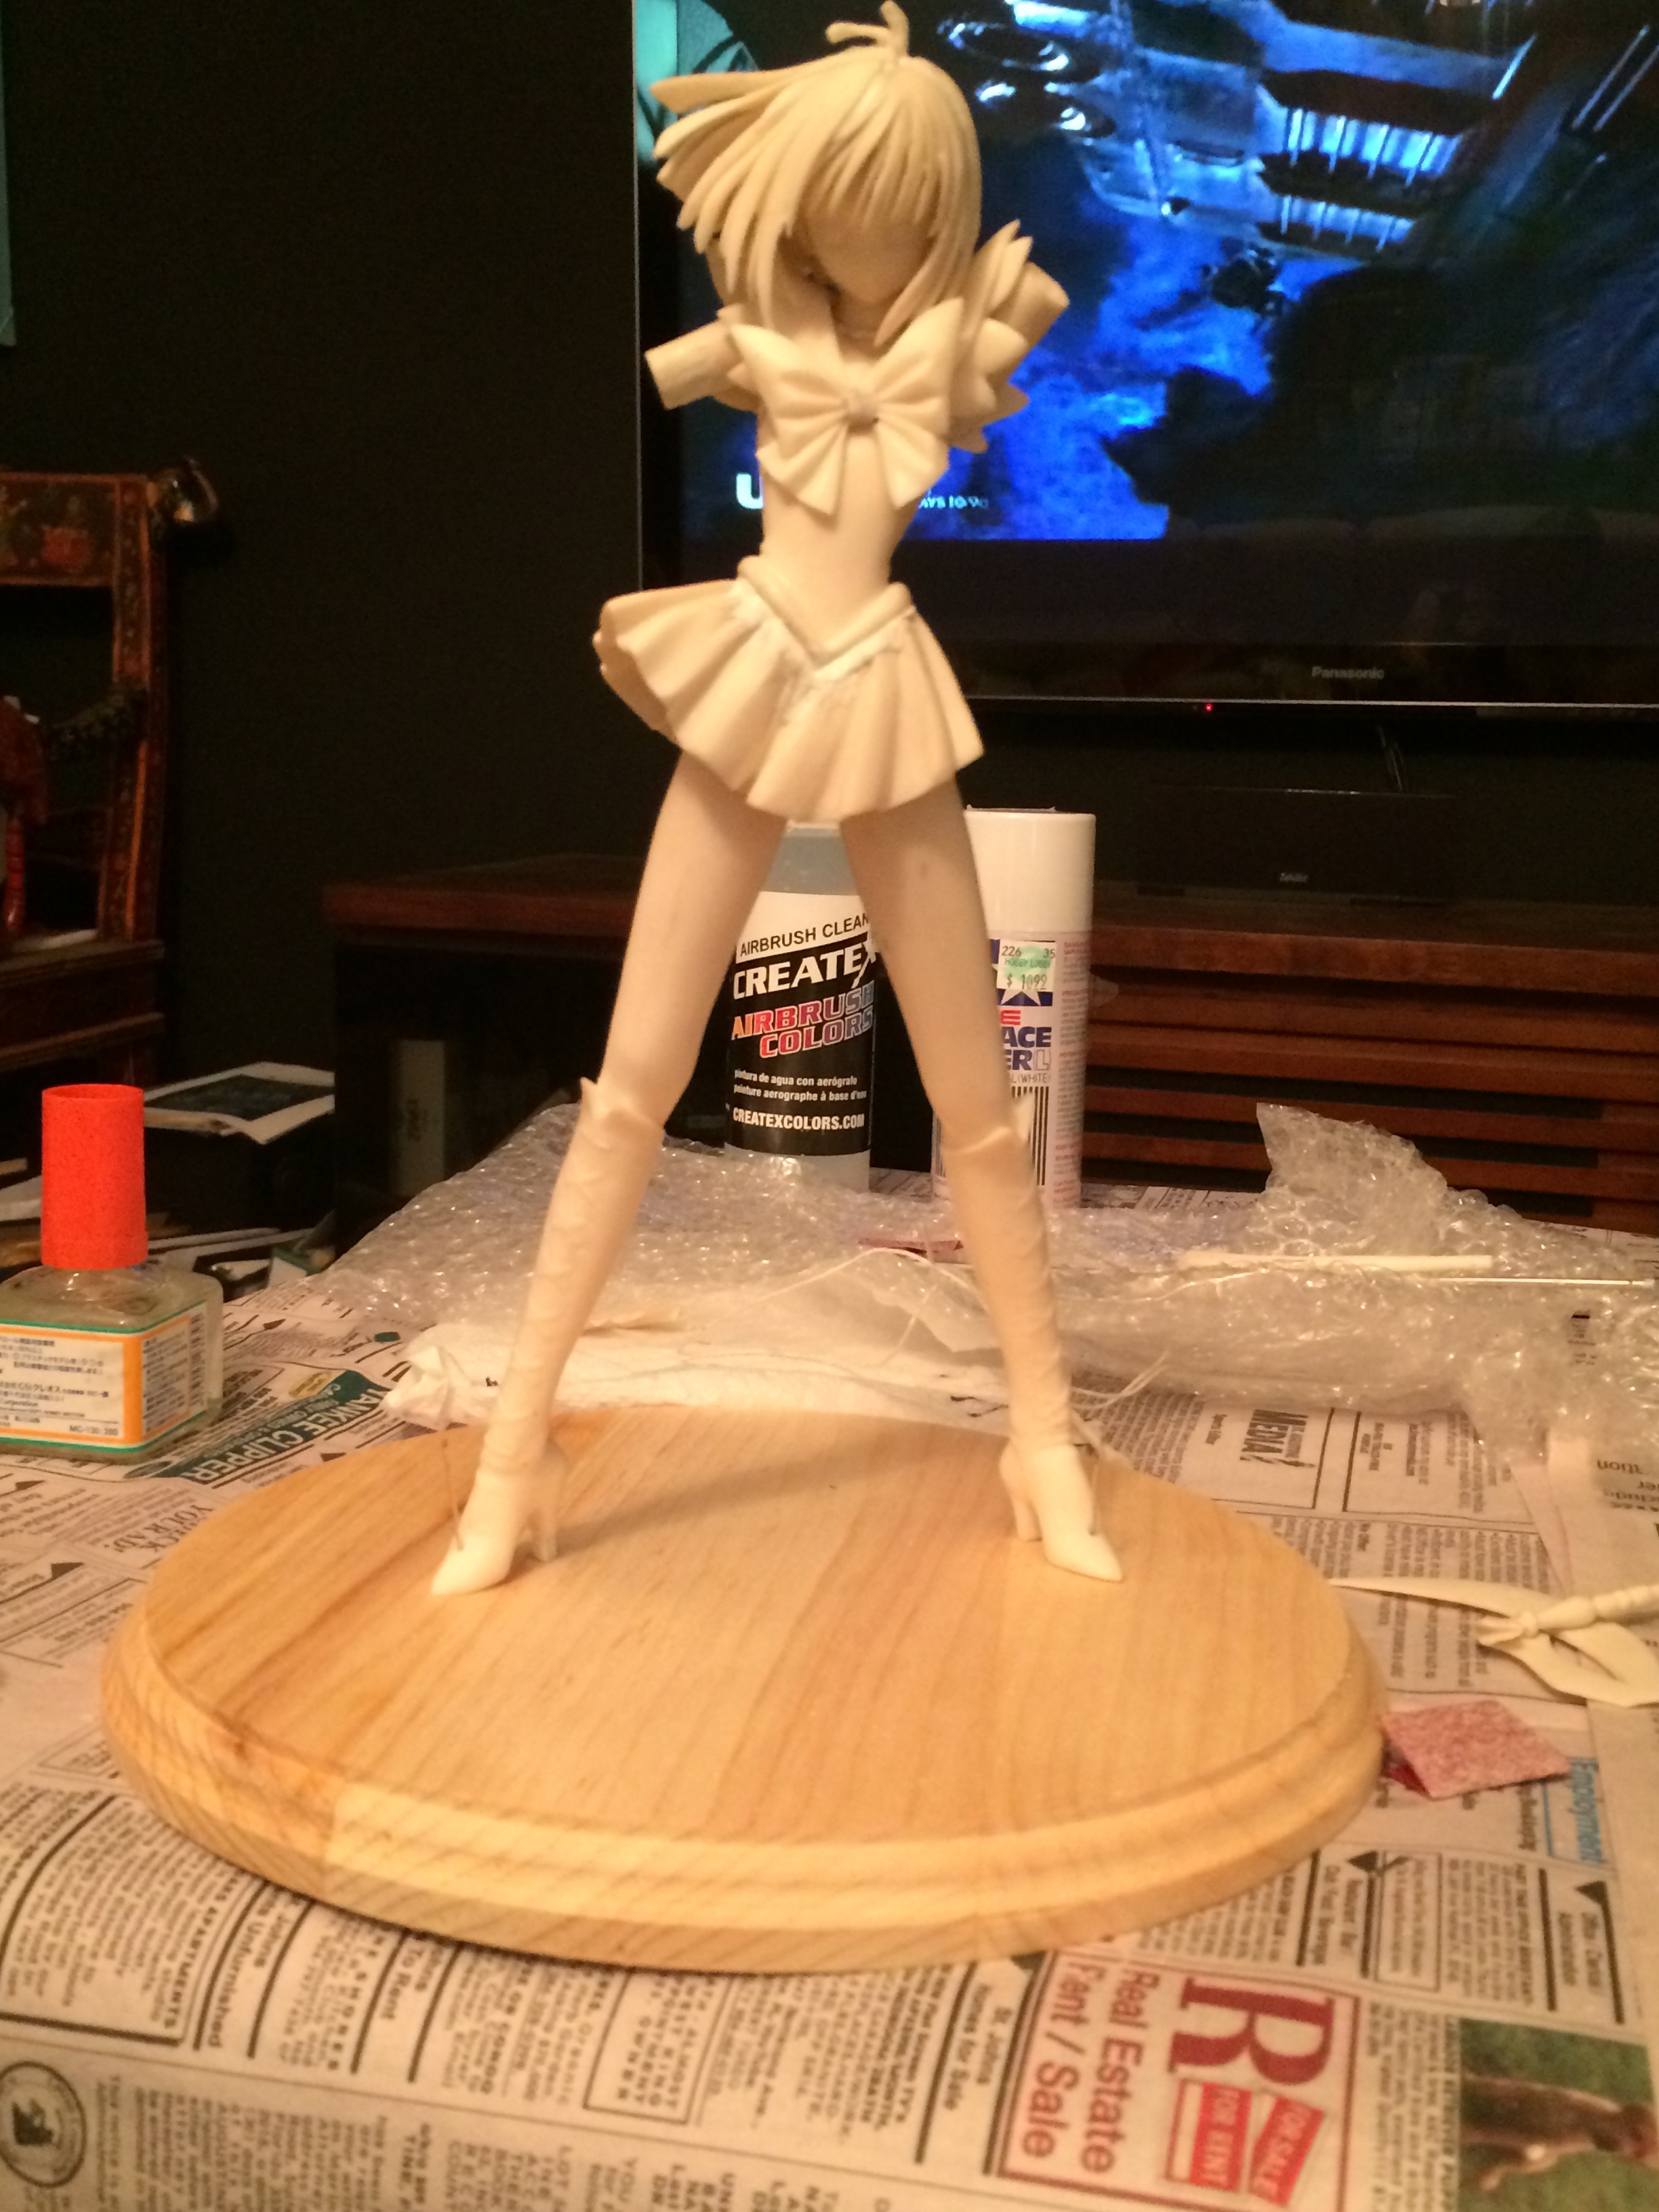
The arms had to be redone due to them not fitting properly on her upper arms. While those were drying I sanded the areas where putty gathered up, such as around the skirt and bows.
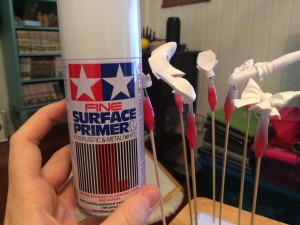
After sanding and making sure the putty had dried to my liking it was time to add the primer. I prefer the Tamiya primer because it goes on smooth and it is specifically designed for resin kit models. There are two colors this primer comes in: white and gray. I like to use white, just because it looks cleaner to me (gray scares me, too dark, haha!). I sprayed an even coat around each piece until the area was pure white. A little advice: spray from a distance, if you spray too close you may have clunky areas of paint and drip-like patterns on your figure. Also, wear a mask! This stuff stinks and is very toxic. Even with a mask on it still gives me terrible headaches and makes me cough for a while.
After priming I went back through and did one final sanding. Primer will reveal areas that have air bubbles (this was used by the casting process). When I found some air bubbles I used smooth epoxy putty to fill in these areas. Some areas needed to be re-sanded because the primer started to build up:
 Incorrect – You can see that there is a buildup of extra putty/resin between the arm and the glove. This needed to be sanded.
 Much better!
After sanding the remaining errors, I have to spray another small coat of primer on each piece that needed a bit more fixing. While fixing up the last few pieces I found something strange in the back of Saturn’s head:
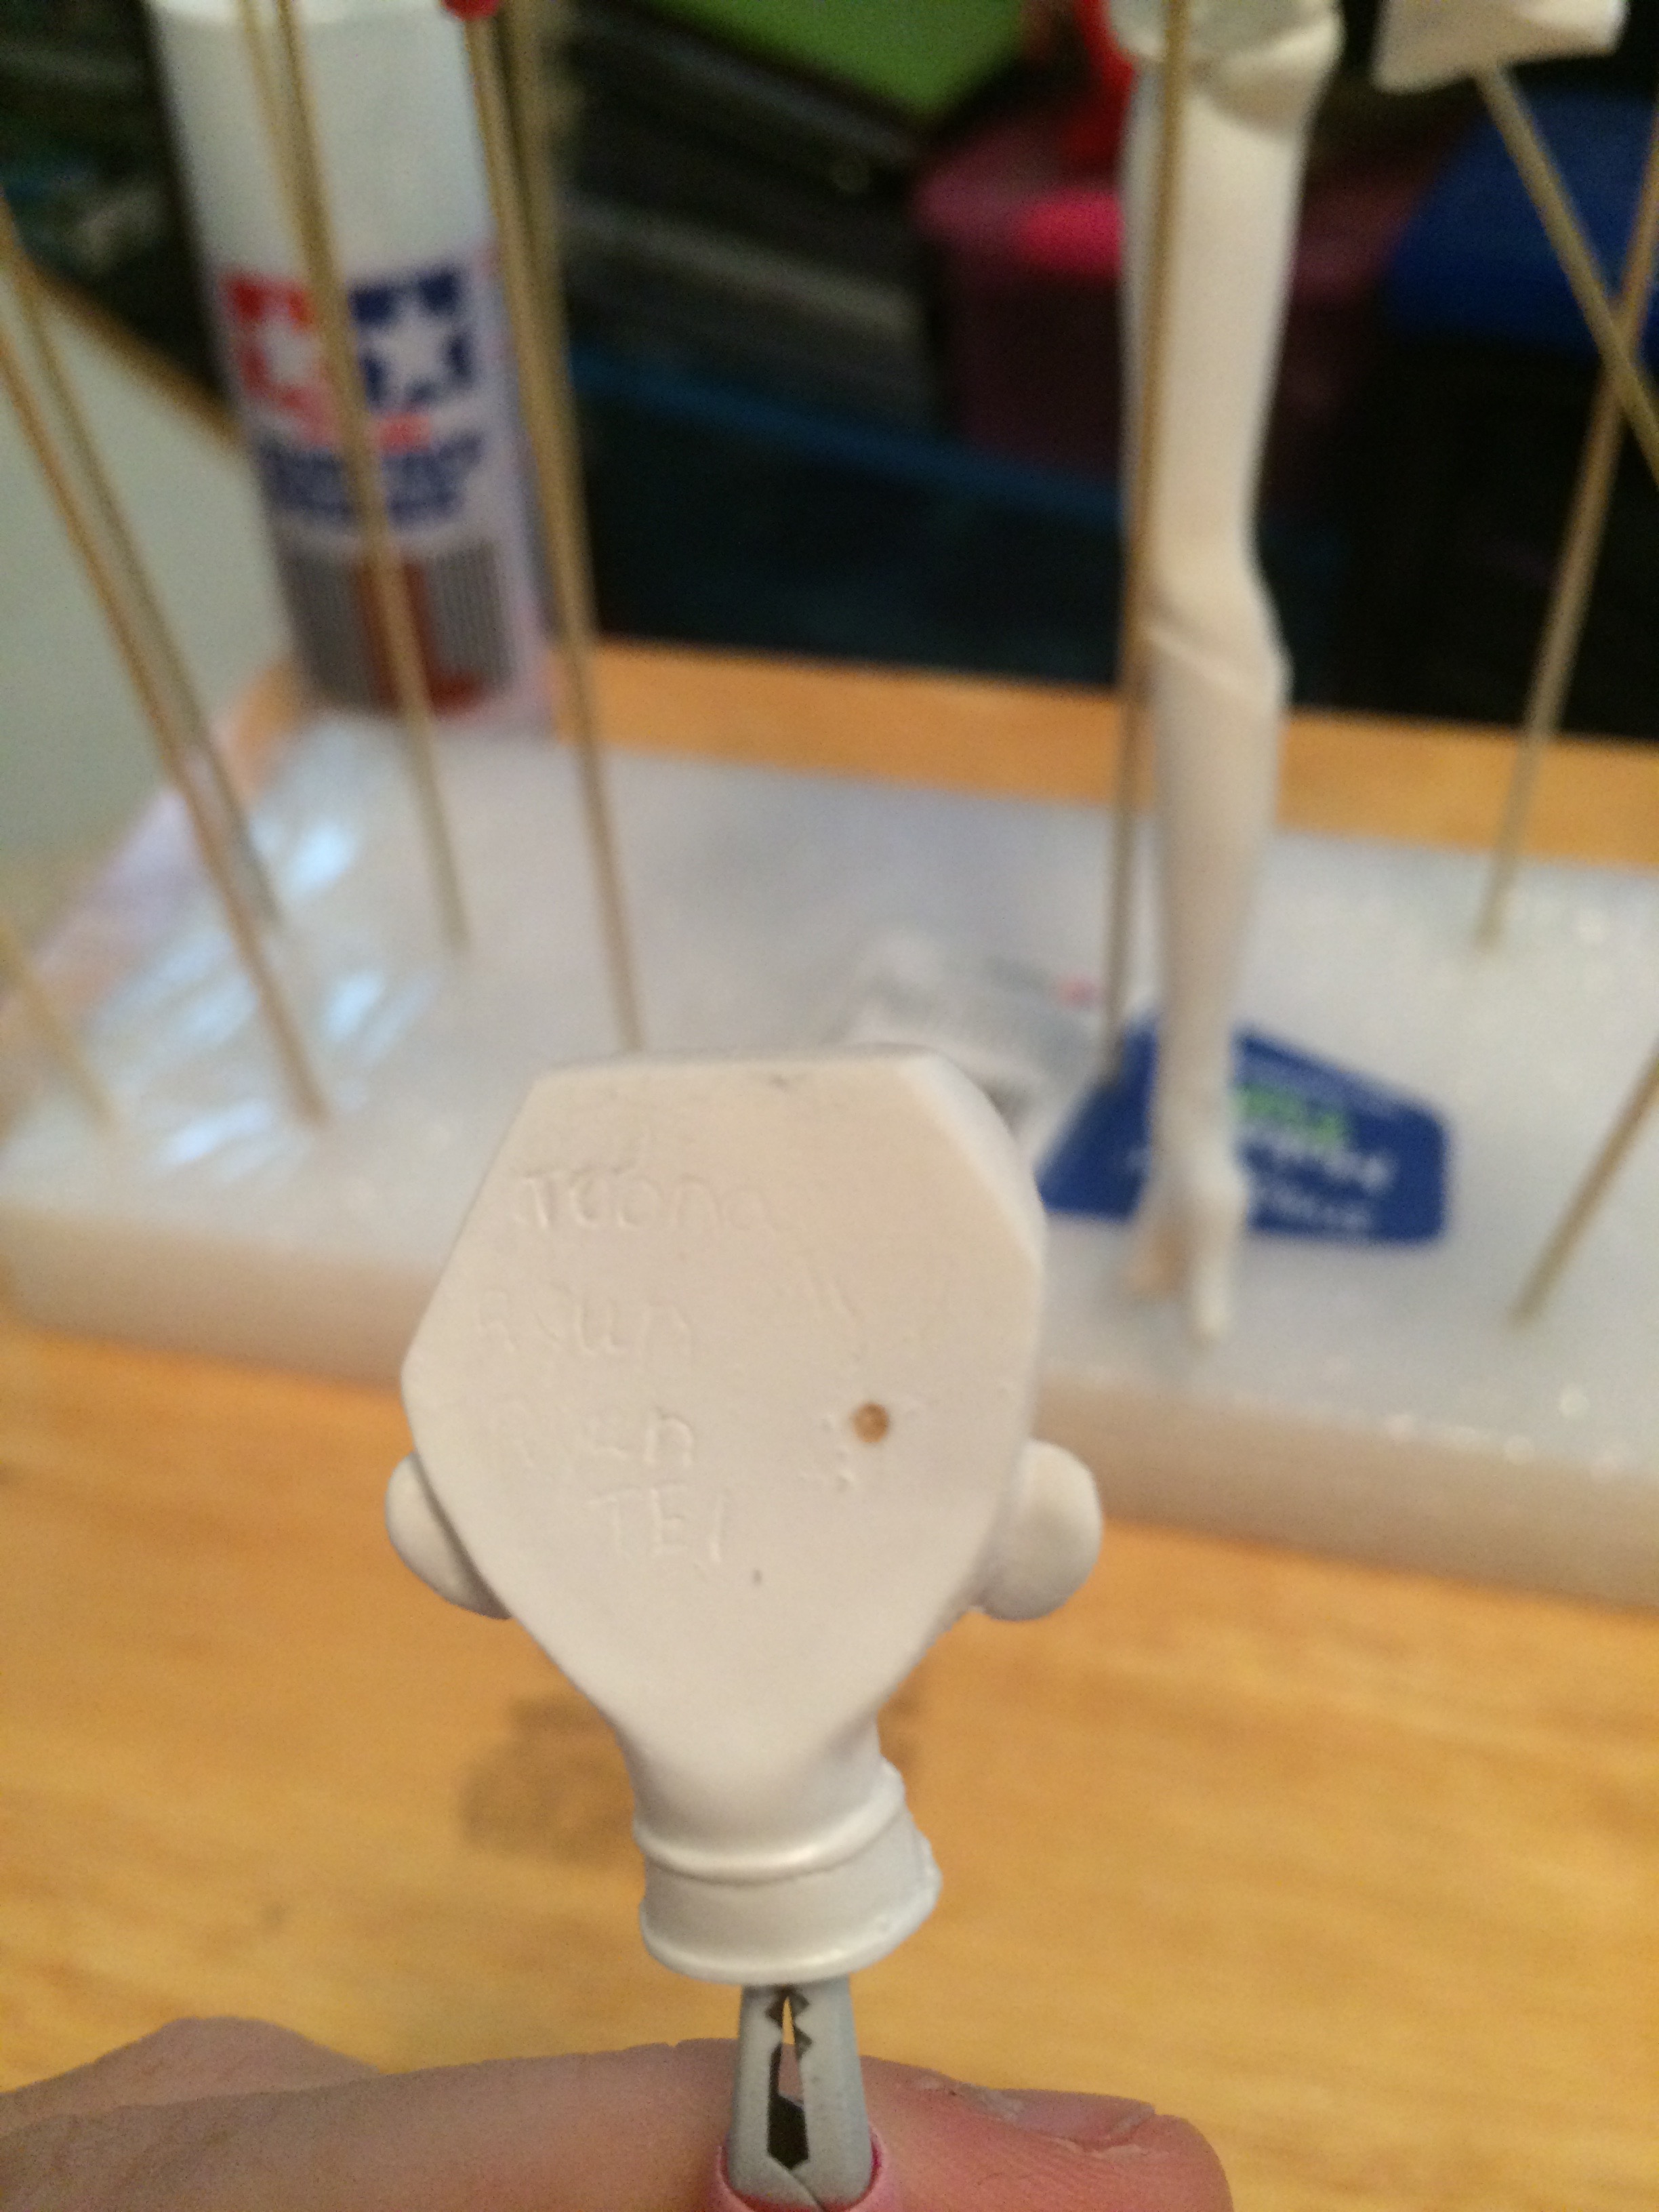 You might have to enlarge the picture to see it better but there appears to be words written into her poor head. Crazy. Can anyone identify what it says? Because I can’t.
Finally with everything polished, sanded, primed, and pinned we are ready for the fun part: Painting!
To begin, we work with one color at a time. I like to start with the skin color (this is also true for when I am drawing). We have to cover up areas that we do not want painter. To do this I use Tamiya Masking Tape and regular painter’s tape (either will work).
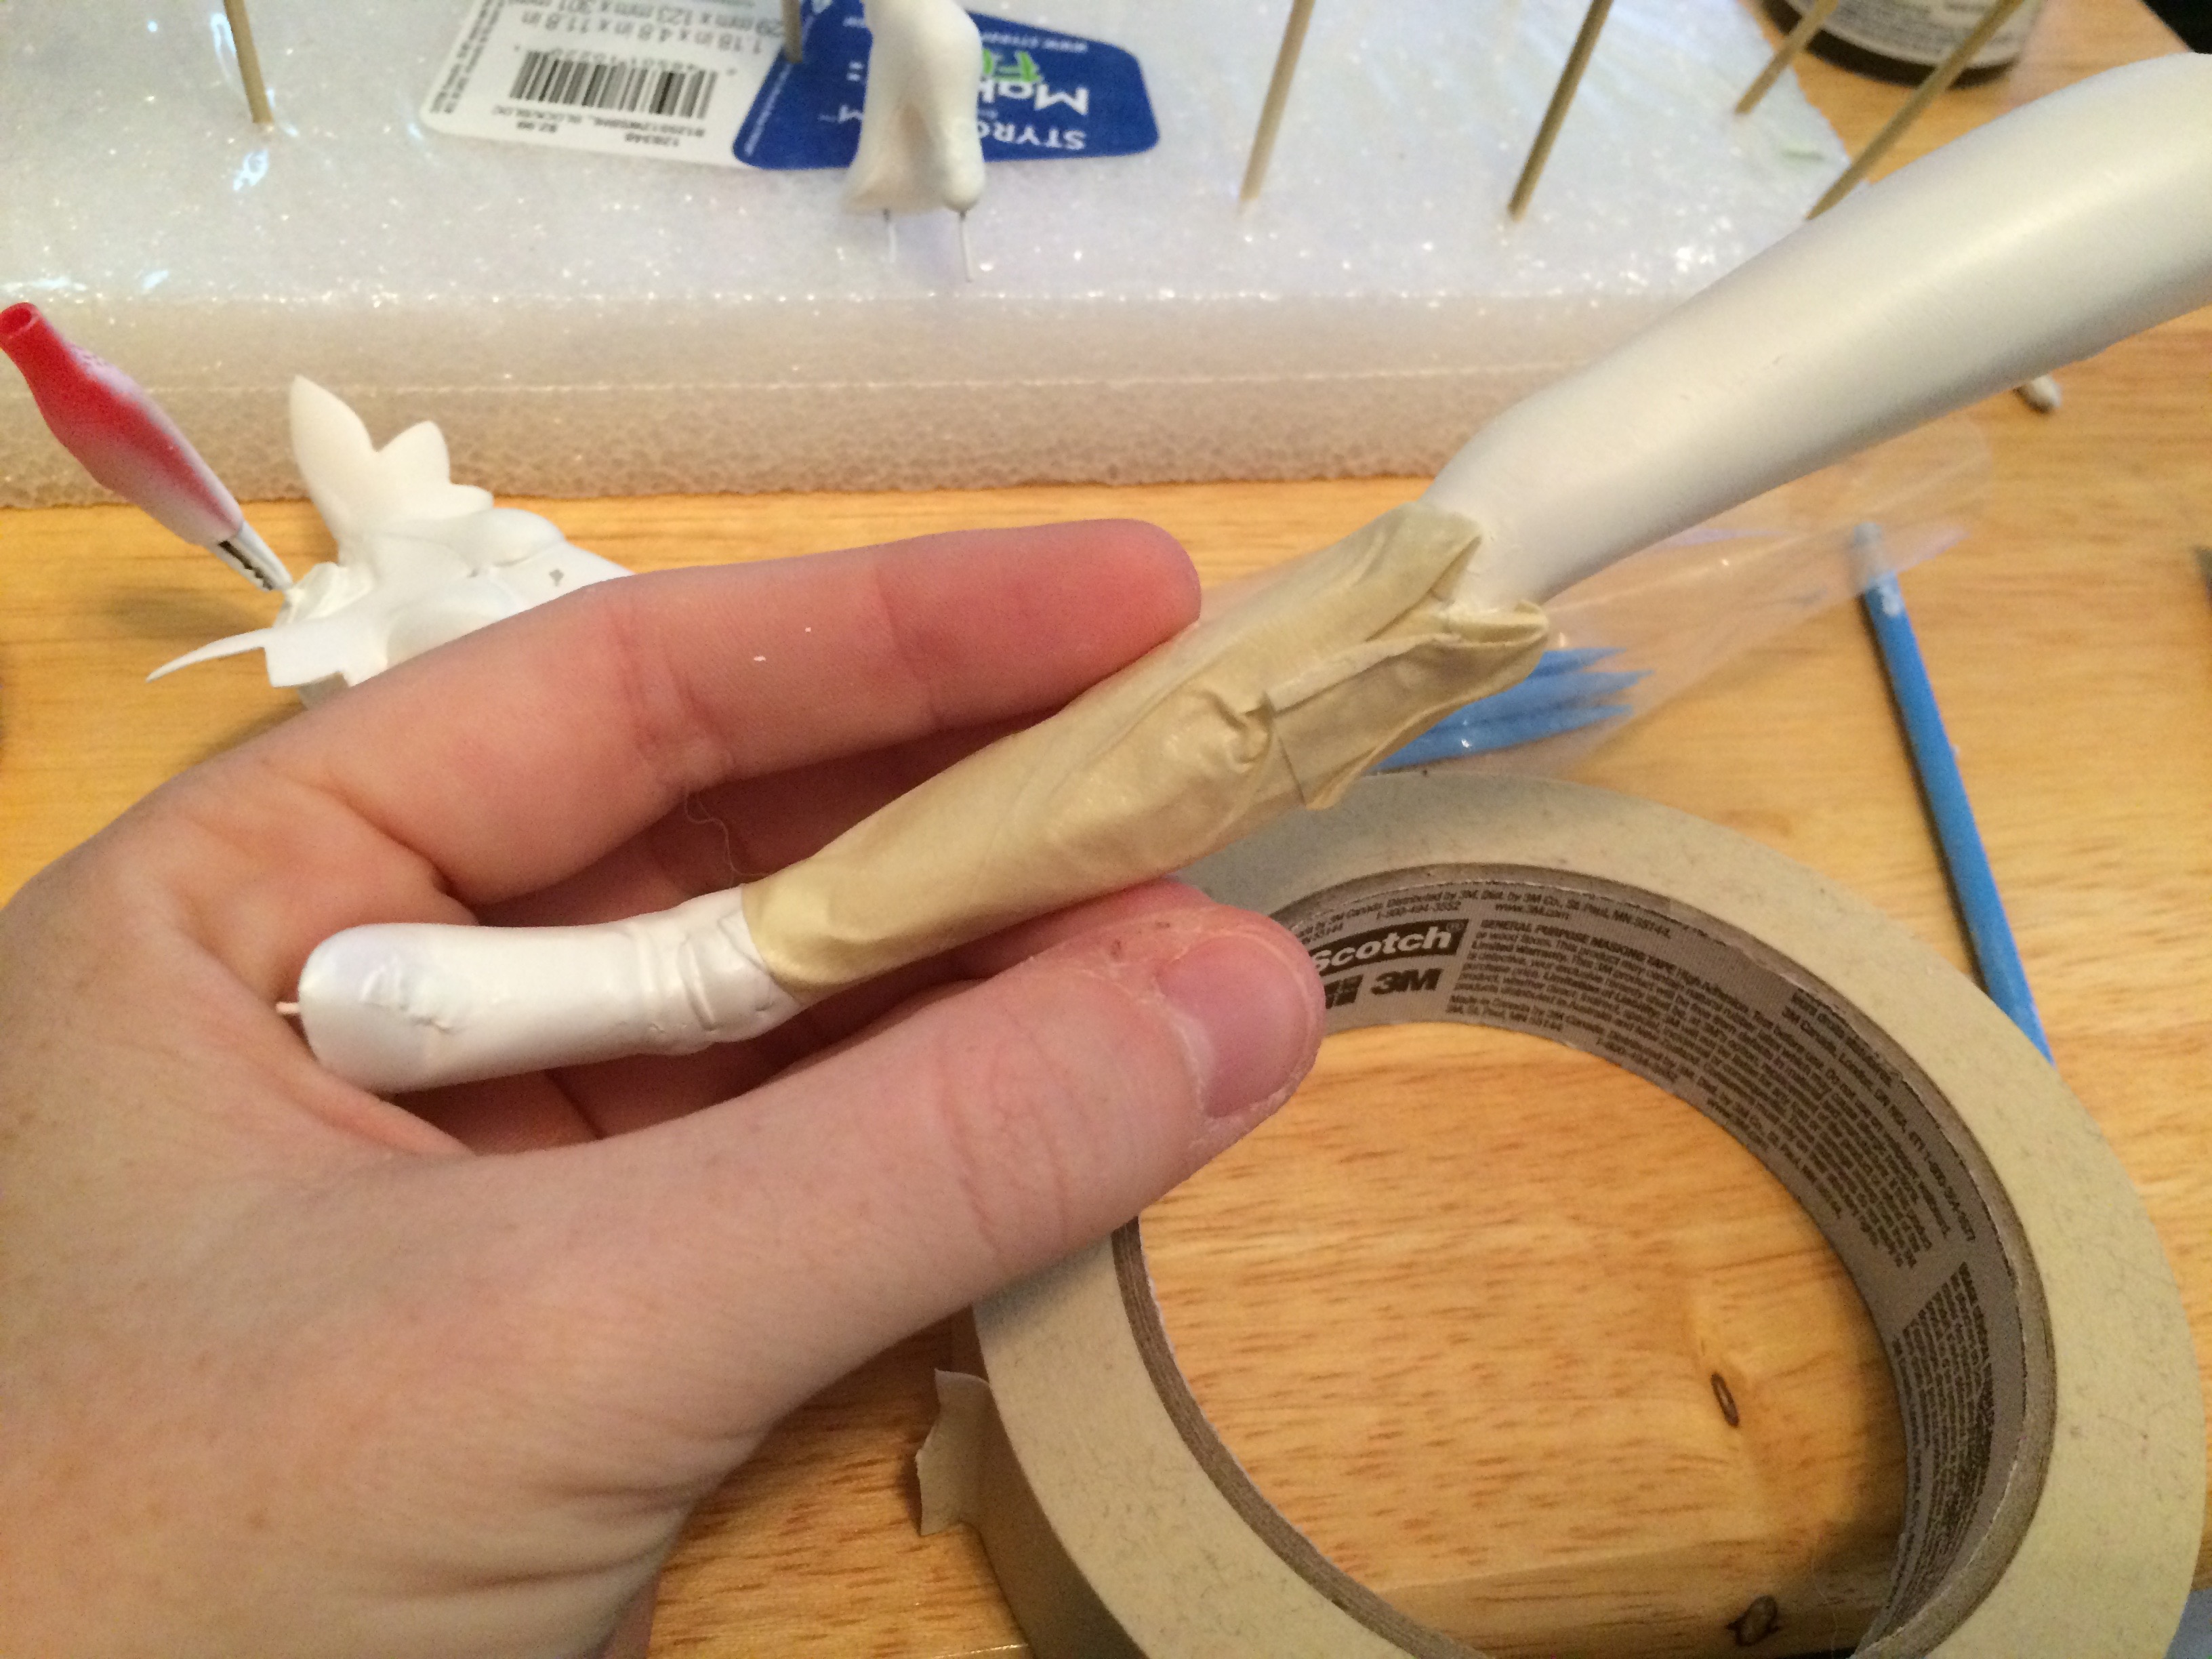 Wrapping the leg