COMMISSIONS CLOSED
I have created three cosplays for my cosplay partner over the past two years. I believe I will be retiring from doing anymore commissions. It is hard enough to make my own costume, let alone a whole other one. I like to focus on one outfit at a time. In many cases I end up rushing both costumes because time runs out, and that is not fair to me and my work that I try to make so perfectly. Therefore, I will only be focusing on my own cosplays and closing commissions (unless for some reason I manage to find a ton of spare time between all of my anime hobbies and PhD research).
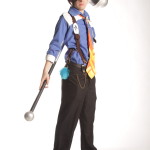
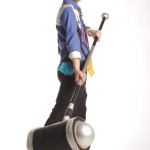
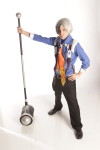
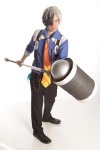
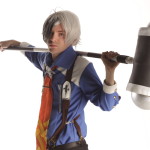
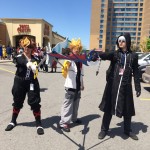
Character: Ludger Kresnik
Anime/Game: Tales of Xillia 2
Year worn: 2015
Conventions: Anime North 2015
Awards Won: Stage Award; Best K.O.
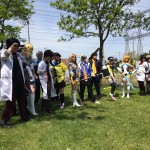
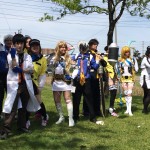
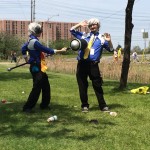
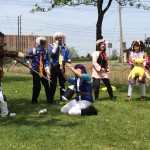
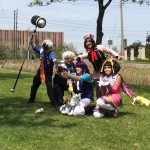
Comments: I am very pleased with the way the shirt came out on this cosplay. I was even more pleased when I was told: “it looks like a shirt you can wear everyday and it looks so cool.” Too add a bit more boldness to the shirt I included some gold cuff links with chains for each arm and some shiny silver spandex fabric for the design on the suspenders and pen pocket. Shirt was made from blue and white cotton fabric. Suspenders made from a nylon-type brown fabric with spandex tape sewn on the inside to keep shape and stretch around the person. The tie was very fun to do. However, for the longest time I could not determine what color the tie was supposed to be. Some images show it more yellow, some showed more orange. I went with the orange and yellow bias tape for the design pattern. Interfacing was included to keep the shape. We did need one of those tie clip things to hold the tie down. Often times it kept blowing everywhere and we had to untwist it from time to time  I got a white wig and cut and styled it to match Ludgers hair (a few spikes coming from the side here and there). For the black I used black acrylic ink and painted the liquid on the designated areas. After each application I would let it dry for a couple of hours and then wash out the wig. I repeated this process about 3 times until the hair was black enough. I found that people who have cosplayed as Ludger always like to have his swords or his guns as a weapon, never the hammer. To be original I decided to do the hammer as the prop. Handle was a 5 foot tall PVC pipe spray painted black and metallic silver. The top of the hammer is made in two parts: the skeleton and the cover. The skeleton on the inside was created from thick puzzle foam mats (you know the ones that you fold together on the floor? You can find them in walmart and target for real cheap). The puzzle knobs on the edge of each mat were cut off and stacked one on top of the other between four sets of thick foam circles. This process was done to keep the hammer stable when it was done as well as keep the shape in case something/someone bumps into the prop. The cover of the hammer, I wrapped thin foam completely around the skeleton until it was smooth all the way around. For the sides of the hammer I cut a large styrofoam ball in half and glued it to the sides. Finally the bottom has one medium size styrofoam ball attached with hot glue and gorilla glue to the PVC pipe. I will post a more detailed tutorial of this process soon. We were also in the “Tales of” photoshoot at Anime North 2015 this year. Managed to get a few pictures of everyone including us in our cosplays
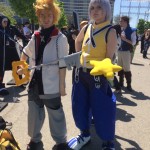
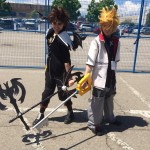
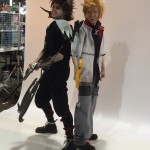
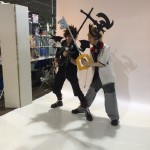
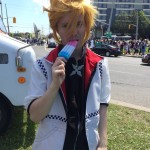
Character: Roxas
Anime/Game: Kingdom Hearts II
Year worn: 2014
Conventions: Anime North 2014
Awards Won: N/A
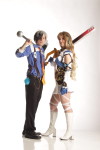
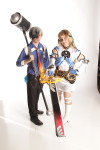
Comments: This was the first time I constructed a cosplay for a male. I guess this isn’t a big deal for most people but I am so used to sewing items that fit to the curves of women… men don’t have curves… My other problem was that I had to keep taking in the outfit because my friend is so tiny compared to the pattern I used. Ugh! However, it finally fit to my liking. The vest/shirt is made from white cotton and sewed with black thread. The lining on the inside was from red cotton fabric. I was lucky to find a fabric pattern that was checkered. So instead of using appliqué I decided to cut the checkered fabric and baste it to the vest. Now that I look back I should probably have done the appliqué for a cleaner look (time was probably against me, since I was also doing my Rosalina cosplay at this point). The pendent by Roxas’ throat was formed using silver clay and then hooking it to the zipper using a simple pin. The inside shirt was black cotton with a gray silver detail on the bottom hem, made from spandex cotton fabric. This same fabric was used for the pants. The gray design for the pants, once cut out, was sewed to some regular black pants. The biggest problem was the wig… All I wanted was to order a simple wig from Milano.com; OMG, it took months to get this stupid wig! They shipped it, they did not pay the correct import fees, it was stuck in Canadian customs with everyone calling me saying I had to pay extra to get it out. Then after I paid the fee, I still did not receive it and for weeks they threatened me for more money. In conclusion, NEVER order from this place! Please! Anyway, got the wig and used intense hairspray to style the spikes. Finally, the key blade. So much fun! I started with a short 3 foot wooden pole. The handle and “key blade” part was made with thick foam board and smoothed with caulking. The caulk was layered and shaved until the edges of the sword were perfectly smooth. Spray painting followed. Hopefully I will post a tutorial on this soon. For my first full guy cosplay I say it turned out well.
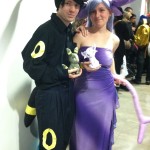
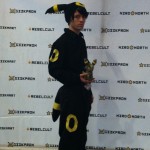
Character: Umbreon (Human Form)
Anime/Game: Pokemon
Year worn: 2013
Conventions: Unplugged Expo 2013
Awards Won: Did Not Enter
Comments: For a cosplay that only took about a day and a half to make, I really like how it came out. I only had a couple of days to make something and I have always wanted to create a simple Eevee evolution cosplay. For the hat I got a black beanie and attached the ears to it. To make the ears stay up I had to sew part of the ear further towards the front of the beanie (towards the forehead). This allowed the ears to stay up, just like the pokemon. The ears were made from felt fabric and stuffed until they were thick. A simple yellow piece of felt was sewed around each ear. I also sewed several oval shaped designs made of yellow cotton fabric (for the yellow hole patterns across umbreons body). The yellow orbs were then sewed to a black suit (did not make obviously). Tail was done the same as the ears. I added a ball keychain loop to the tail so that it could attach easily to the back belt loop of the pants. A very simple, yet perfect cosplay  Very easy to make, especially if you are in a hurry. Once again, sorry for the quality of the pictures. Also, I apologize that these are the only ones that I can find so far.
